Showing posts with label DIY. Show all posts

Tuesday, February 17, 2015

DIY Art | Savvy's Room

This was such a fun project for me! I was in need of some new (and large scale) art for Savvy's room. I didn't want to break the bank (again, I like changing things up quite a bit so no one item can ever be too valuable) but wanted something that was unique, stylish and special. After consulting my trusty Pinterest boards and hitting up Michaels, I decided to try my hand at painting. (After-all, the canvas was on sale for over 50% off.) I already knew the look I wanted to go for as well as the color scheme, so getting started was fairly simple.

First I took a roll of washi tape and sectioned off the canvas. This took a couple of tries to get the spacing right. From there I started with one color and did a spot (sometimes two) in each row and column. I made sure to space them out randomly and far apart from one another in this single color. I repeated this step with each color until each square of my washi tape grid was full. I tried to create texture and white space with each circle I painted. More paint here, less there...

 I'm extremely pleased with the end result especially considering the whole project cost just under twenty dollars. (NOTE: these colors are translating poorly on camera, in real life it matches her scheme perfectly.) 

Martha Stewart craft paint in satin. 
Colors used: Arrowhead | Brushed bronze (metallic) | Wet cement | Camellia pink | Poodle skirt.
Xo,
T.

Sunday, December 14, 2014

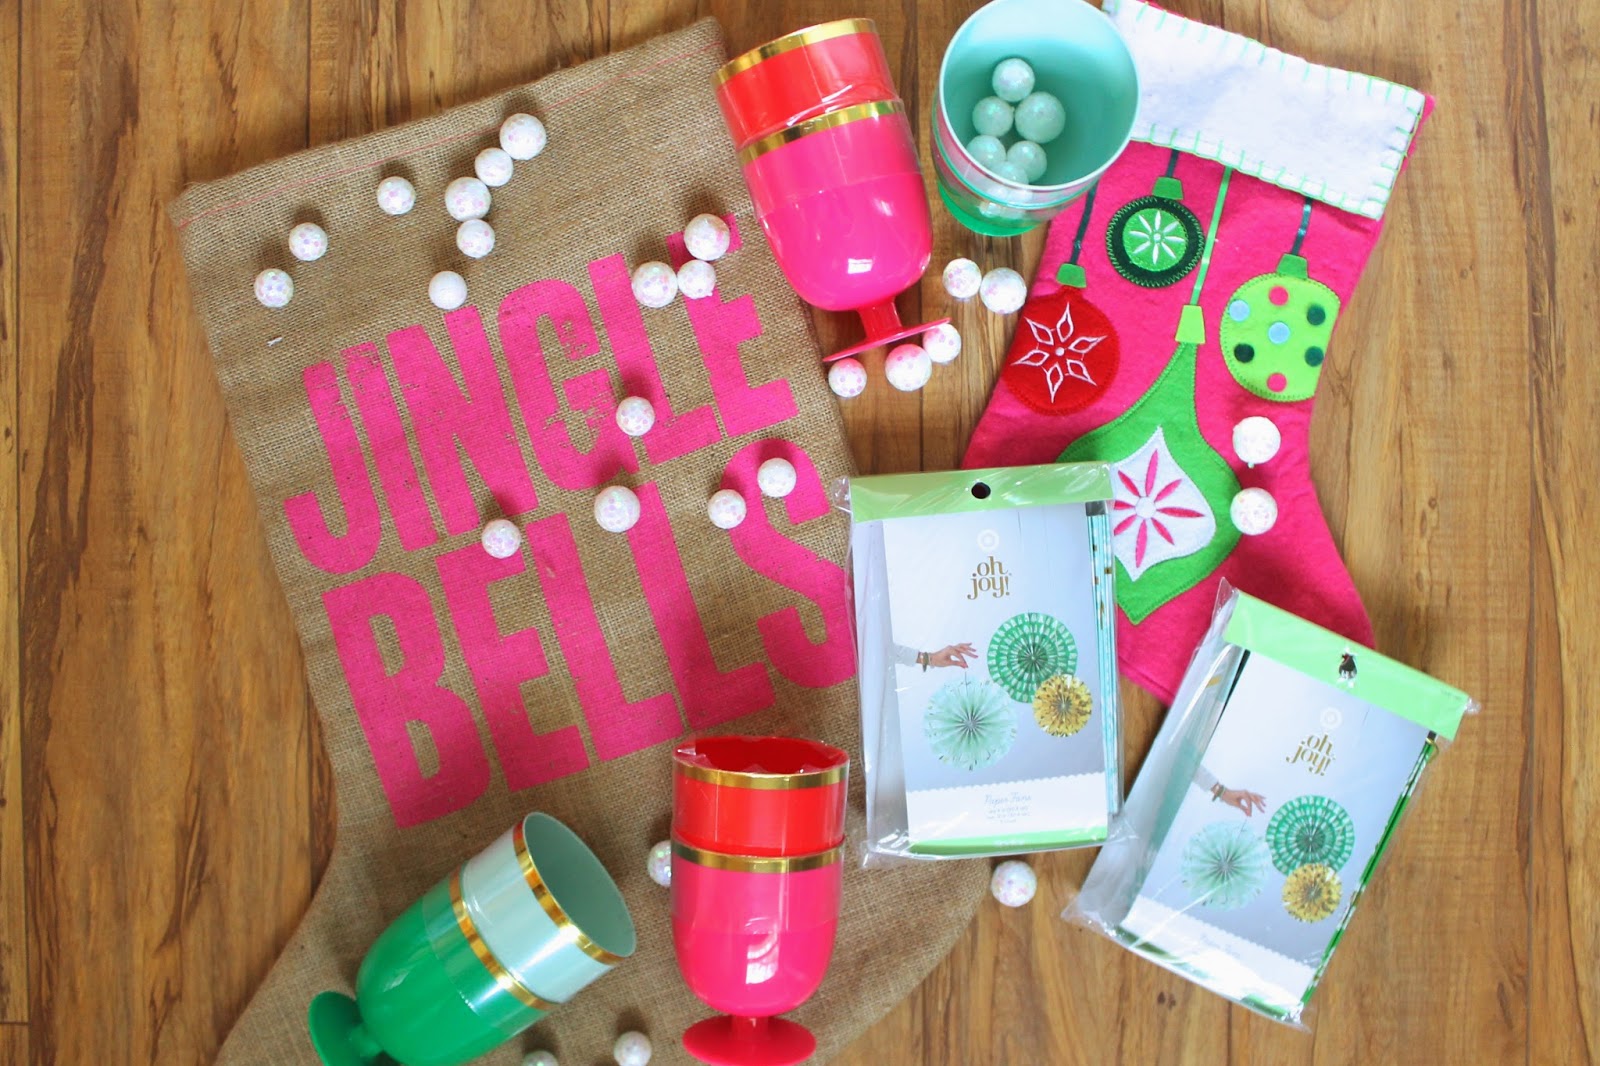
Oh Joy! The Hooray Way

Pictured above: Oh Joy! 

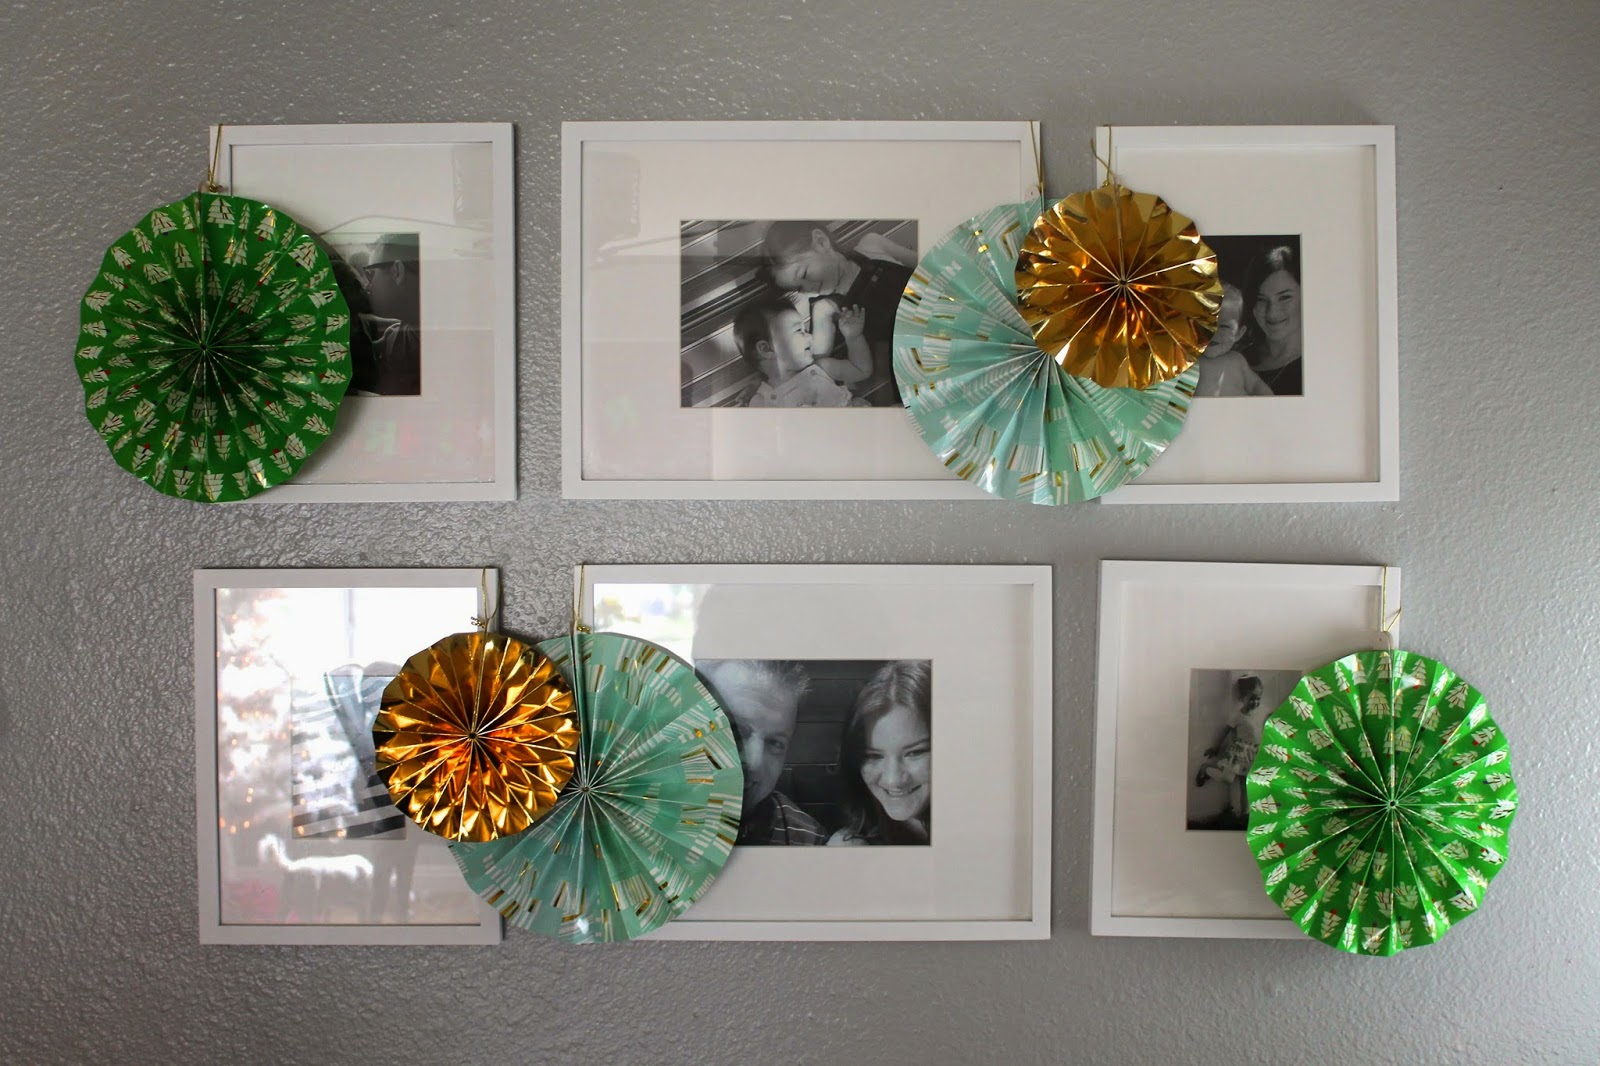
It's no secret I'm a huge fan of Joy Cho's style, blog and most importantly (at least, in terms of this post) line of holiday goodies at Target. As soon as I saw them in person I knew I had to scoop a few of these festive pieces up to add to my own colorful Christmas decor. I believe this line was originally intended to serve as party decor and serving pieces, but after peeping tons of inspiration online, I decided in the home was the best use for me. You too? Great, then keep reading to see how I styled these paper fans in two festive ways for the holiday. 
Tip: to be able to use these paper fans next year, I recommend using scotch tape to adhere them. It comes with a pre-attached sticky strip, but this way you can fold them up and store them without worry about damaging it. 
First up is on the tree! With a one year old desperate to tug and pick at traditional ornaments, this is the perfect solution in lieu of a daily battle. The struggle is real people. I really love how dramatic the size of each fan looks against our white tree. Don't you?
Next is the gallery wall in our living room. Find an arrangement with balance and good distribution of color, and you have an instant festive look for Christmas. 
I hope you enjoyed these holiday ideas, and feel inspired to bring some of these elements into your own home this Christmas! If you style your own Oh Joy! paper fans please tag me in the photo, I'd love to see!
Xo,
T.

Tuesday, December 2, 2014

Disco, Baby

When we were first married I was all about that rustic life. All of our Christmas decor had a woodsy feel with lots of deep burgundy red. Seven years and two small babes later I am more of a bright and colorful type of girl. A fun and whimsical Christmas is much more my taste. 

Since buying six new bins of updated Christmas stuff wasn't really an option (as much as I tried) I decided to take a different, more practical approach. So before you decide something isn't your style anymore, such as this once rustic Christmas tree, give it a quick spray of matte white (which I believe solves a plethora of problems) and glue some tiny disco balls to it. The gold glitter is optional, but completely necessary in my book. 

Come to think of it, these instructions probably won't cover a wide array of problems outside of Christmas decor, but in this case...it totally worked. Best part? I scored two sleeves of these cute mini ornaments in the dollar section at Target. We already owned the spray paint, so the total cost was literally less than a cup of coffee. Now that's a Merry (and colorful) Christmas. 
Has white spray paint saved more than a fair share of your DIY projects? Have you already started brainstorming other ways to use these disco balls? I'd LOVE to hear from you. Please leave your thoughts in the comments below. 

Also, how do you feel about the p.m. posting schedule? Yay or nay? Let me know!
Xo,
T.

Wednesday, October 8, 2014

A Touch of Fall + Floral Pumpkins

I love Fall. I know I sound like everyone else who rushes in the pumpkin-all-day-erry-day life, but I like it for different reasons. Well, the lattes definitely don't hurt! But for me, Fall represents a nostalgic feeling that I get each time I see the first signs of cooler weather. (Except for this year I guess. For those of you outside CA, it's still reaching close to 100 degrees here.) Fall screams the start of the holiday season, and memories of our when our relationship was new. Now it represents Hudson's birthday and starting new traditions of pumpkin patches and apple picking. More on that soon!

I wanted my house to start looking the way I wish it felt outside. So I started by taking this new vignette I have going on in my dinning area and adding a touch of Fall. See below for a beautiful spin on classic mini pumpkins for your own space this season. 
1. Start with a few small pumpkins. Add them to a pre-exsiting arrangement like I did, or create one on an open surface specifically for Fall.
 2. Cut open and clean out two of the three pumpkins.  
3. Grab a roll of wash tape and add vertical stripes of tape to your pumpkin.
4. Fill each pumpkin 1/3 full of water. Cut + arrange flowers.
This was a really simple and quick project, but I think it made a big impact. If you decide to recreate this project tag me directly or hashtag your pictures with #hoorayfordiy so I can see it! Also, be sure to check out tomorrow's post for more outfit inspiration. I really love the look I'll be featuring, and I think you will too. See you then.
Xo, 
T.

Tuesday, September 9, 2014

Pillow Talk

Finding the right combination for your throw pillows can be a bit of a challenge. It's important to considering color, size, pattern, and texture when picking out the one, or seven, that will work in your space. Personally, I like to change things up a a lot. So for me, a low price tag also plays an important role in my selection process because I never want to feel too committed to any one pillow. 
If you are interested in keeping your pillow game strong, see below so you can mix and match with the best of 'em.  
 I started with a blank canvas. Clear off any pillows that may have come with the couch, or ones you were previously using.
 Bring in two pillows that are on opposite ends of the color spectrum, as I've done above. I went with a solid and warm coral color as well as a classic and cool black and white patterned pillow. 
 From there I added my largest pillow (this fun furry one) to the center. I balanced things out by adding another black and white pillow to the right. I also used a throw with the same colors on the left. This felt closer to complete balance-wise, but I wanted more color...
 I needed to add some warmth back in and introduce a third color, so this one in the center seemed like a great option. It matches the coral color I've already used, ties in the gray walls, and offers two other colors to play off of. 
This is the final look! I added two new blue tone pillows, one with pattern and one with texture. I'm SO happy with the final result. I think it's just the pop of color and interest this room need. 

From left to right: 
Black and white throw blanket | Black and white pillow | Blue stripe pillow (Homegoods) | long nubby blue pillow (Homegoods) | White furry pillow cover (not online, from Ikea) | Navy X pillow cover | Black and white aztec pillow cover | Coral pillow (Homegoods)

Pillow inserts:
Large duck feather pillow insert used with Ikea covers. (Only $5.99!) 
'16x'16 duck feather pillow insert used with the Ikea aztec print cover.

Note: If you are purchasing pillows from a few different places as I've done, always bring your first purchase along to the next stop. It will be next to impossible to remember the exact shade of blue you needed without a reference on hand. Trust me, this will save you tons of time and make the whole process easier. 
Xo,
T.

Tuesday, July 22, 2014

Fresh Blooms


There is something about receiving a fresh flower bouquet that seems luxurious and special. It's not expensive or particularly time consuming to pick one up, but it says: I thought about you today. Just having a few fresh blooms around seems to brighten up the whole house for a week, which in turn, brightens up your mood. One way I like to make a bouquet last is by splitting it up and arranging a few smaller vases all around. This way, you can have a pop of color in almost every room and enjoy them more frequently than just say, on your entry table when you come and go. Also, it helps to have a variety of vases in different sizes and mouth widths, so the next time you are at the flea market or HomeGoods think about picking a few up. Always hit up the sale section first, you'd be amazed what you can find. 


I started with this $7.99 bouquet of wildflowers Cory picked up from Sprouts. 
First, I put them all in large vase like this one:
Then I will selectively pull a few flowers, and a good amount of "filler" 
like greenery and baby's breath (this bouquet had mostly greenery) and arrange a medium size setup like this:
Finally, I will take what's left and arrange the smallest one:
The final result looks something like this:
Prepped, primed, and ready for a variety locations around the house. 
Do you have any style tricks for making blooms last, or spreading the love? I'd love to hear your secrets in the comments below. 

Xo,
T.

Friday, July 11, 2014

Star Spangled Breakfast

The fourth of July is one of my favorite holidays. Who am I kidding? ALL holidays are my favorite. This year I decided I was going to start the party early, beginning with breakfast. I'm not much of a morning person, so it had to be something I could do with little effort and big payoff before my second first cup of coffee. Mission accomplished!
Savvy's outfit: Dress/gift/no longer available: Here (this option is cute too) Shoes/no longer available: Here (similar style)
Hudson's outfit: Onesie/gift/no longer available: Here (this option is on sale!) Shorts: Here Shoes/no longer available: Here (similar)
Items: Target brand (Archer Farms) red raspberry preserves. Trader Joe's blueberries. Target/Nature's Own 100% whole wheat bread. 
Not shown: banana, chopped and halved. 
...I may or may not have eaten it. 

Xo,
T.